
 |
| Hauling Phoenix out of the water |
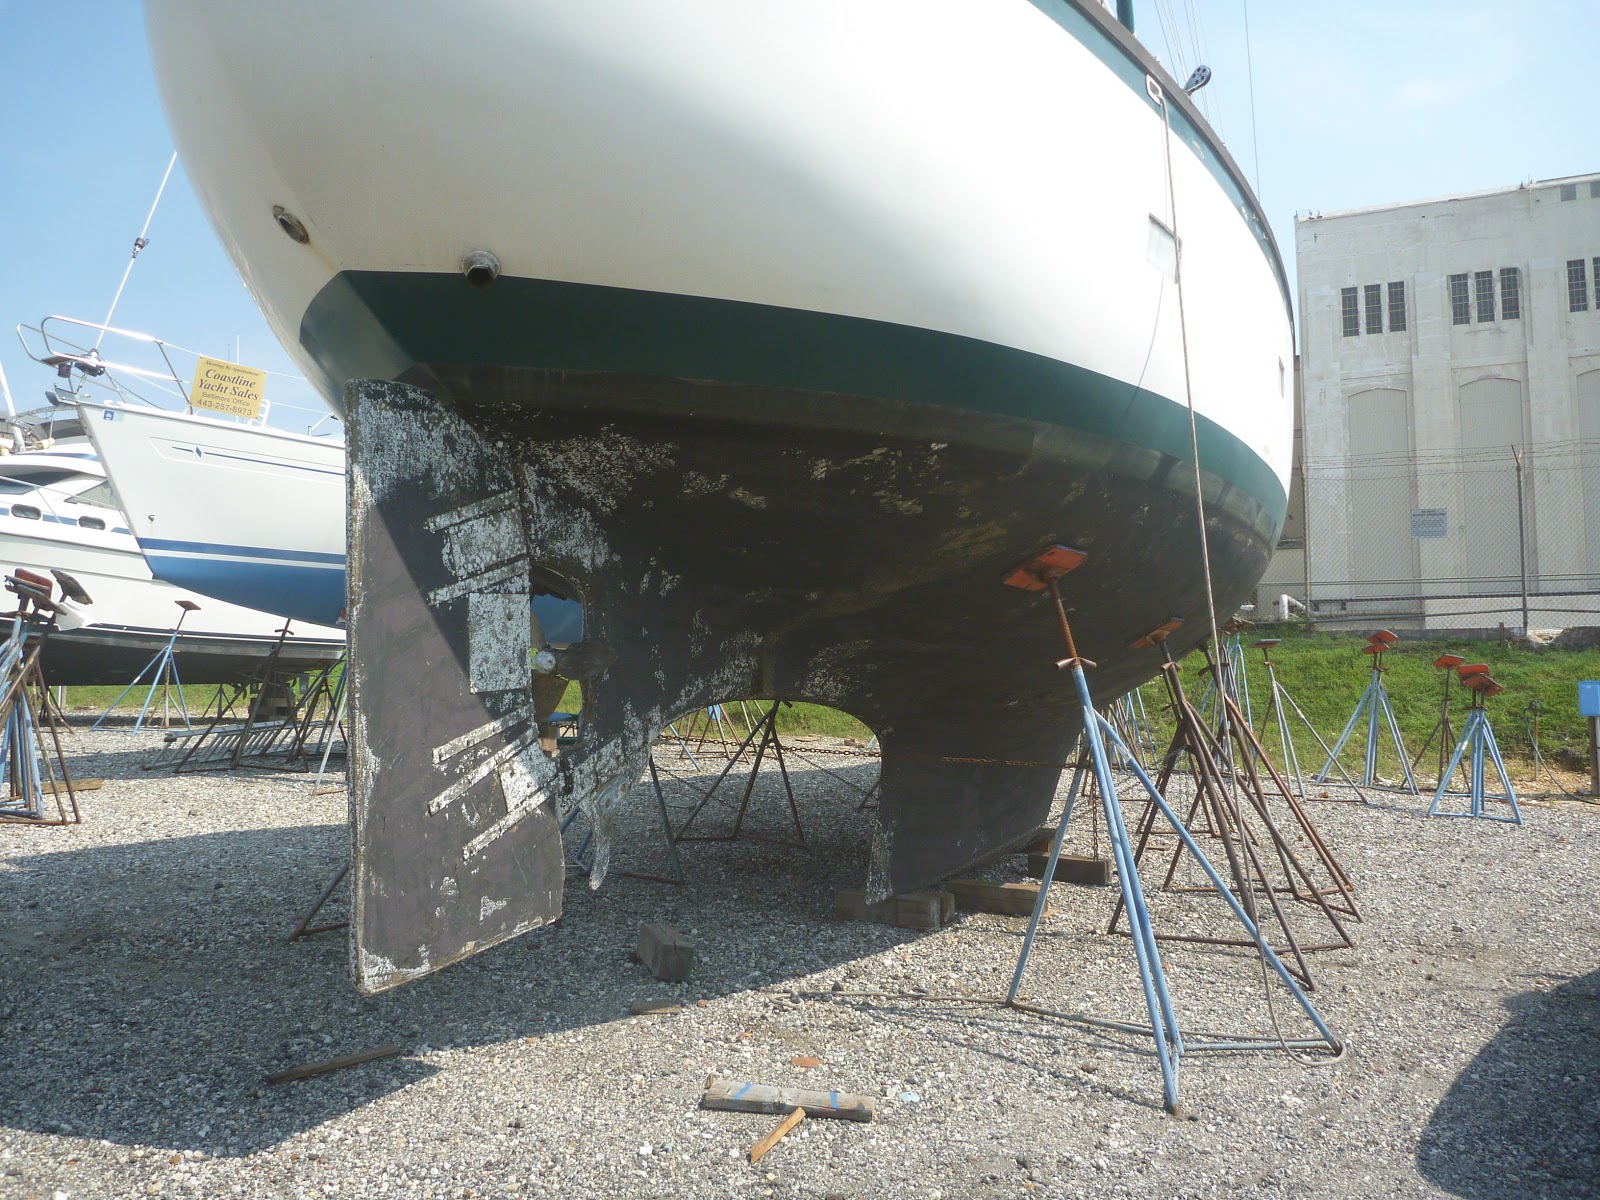 |
| Phoenix on the hard and ready for her new rudder |
As I mentioned in a previous post, Coosa is high density urethane (HDU) material reinforced with layers of fiberglass. HDU is a strong, naturally waterproof material that is much lighter than wood, thermally stable, paintable, and can be machined much like wood. Coosa combined these properties with the strength and structural properties of fiberglass into two varieties: Nautical (reinforced with continuous strand fiberglass) and Bluewater (reinforced with layers of both continuous strand and woven roving fiberglass).
Before we could do anything with the Coosa board, we had to remove the old rudder by unbolting the barn door from its exoskeleton of plates and straps. The rudder was REALLY heavy (> 150 pounds) and essentially negatively buoyant, further adding to the rudder feedback we were trying to correct!
 |
| Phoenix's old rudder unbolted from the rudder post, plates and straps |
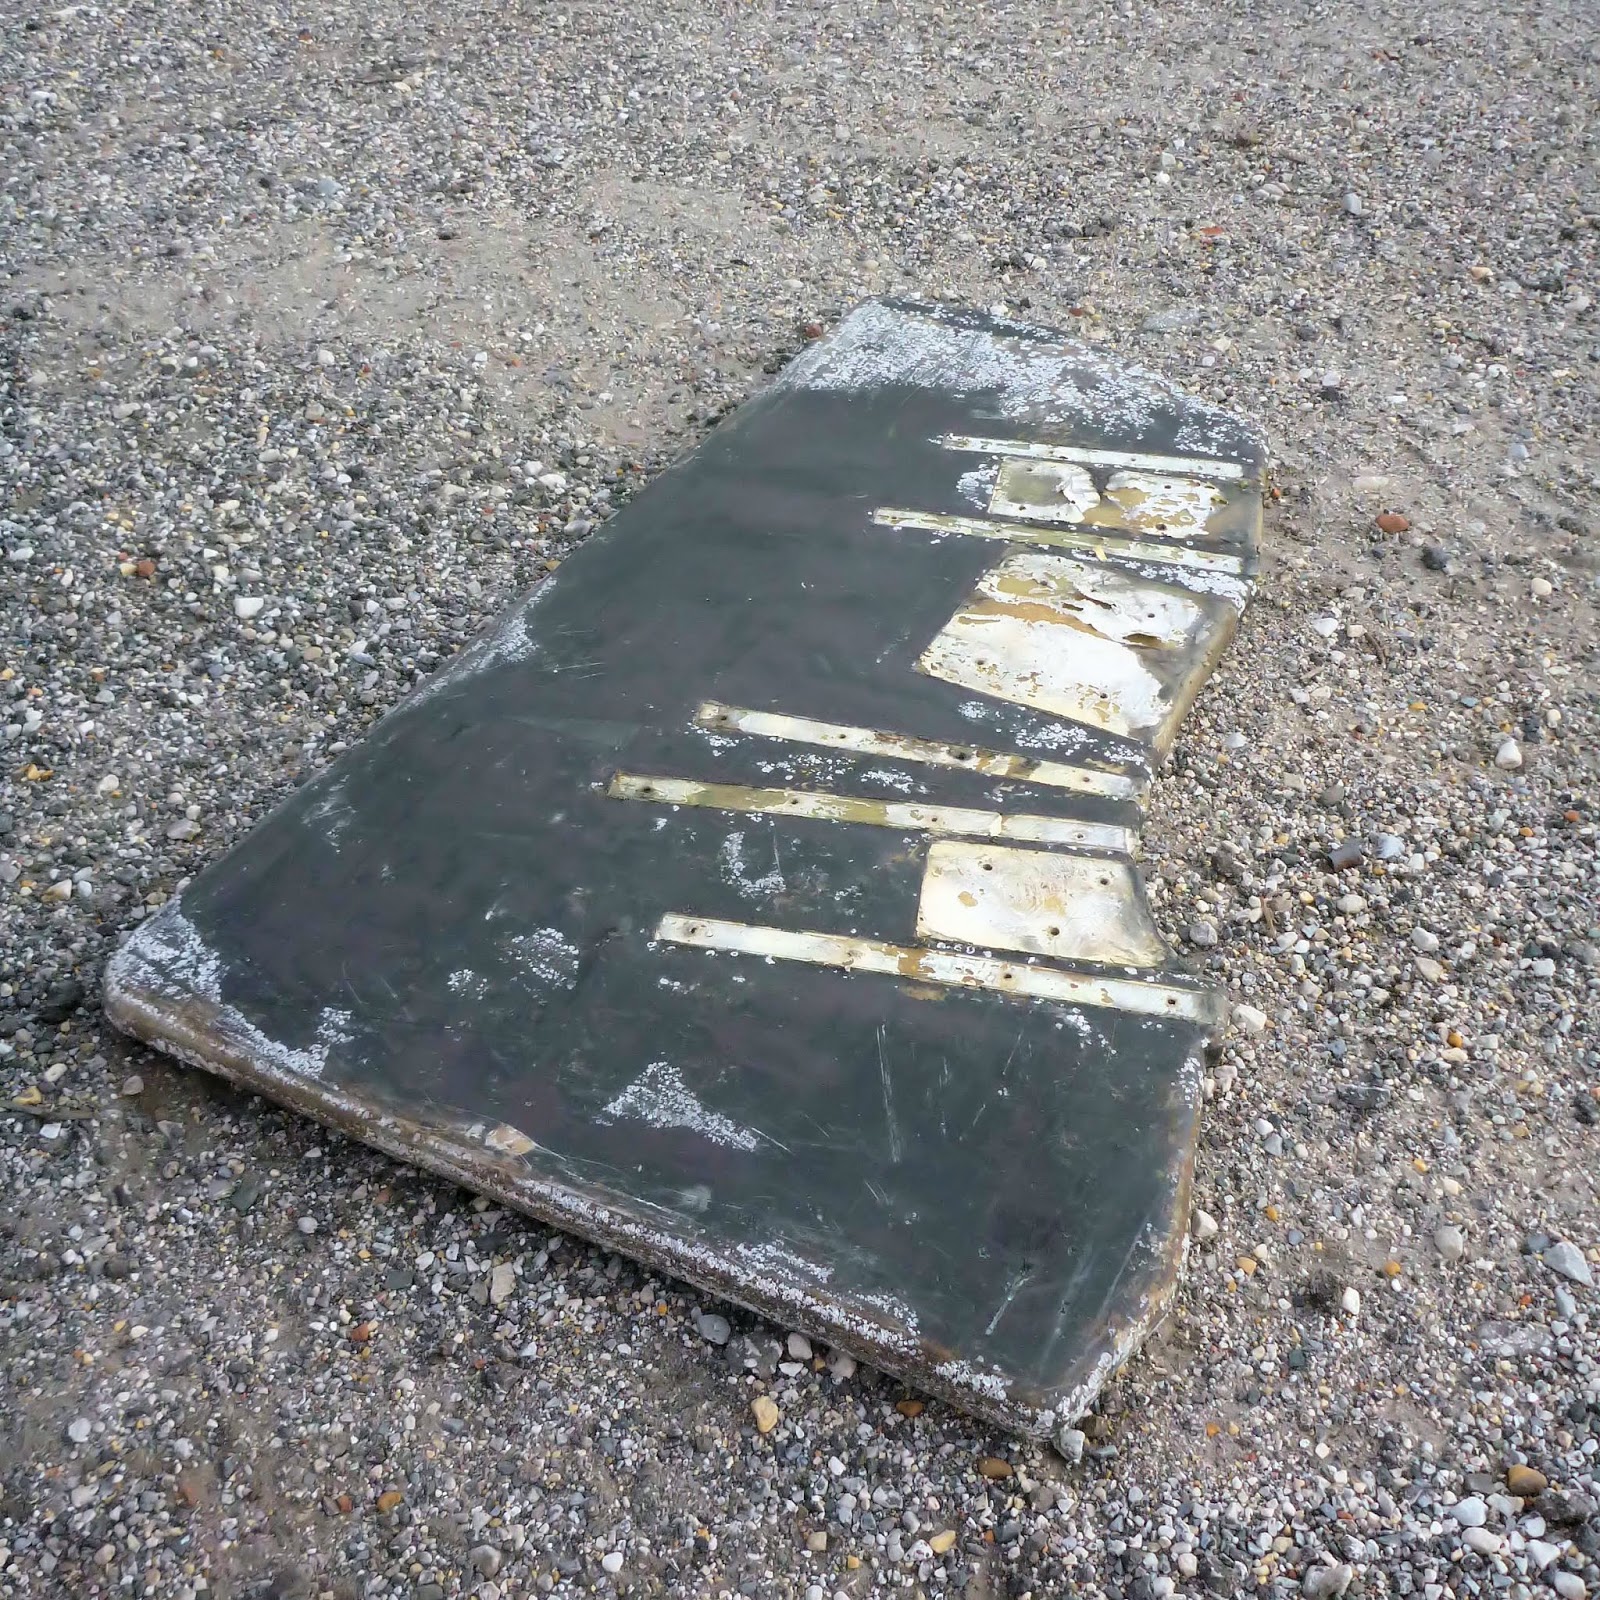 |
| Phoenix's old rudder |
 |
| Wet plywood inside Phoenix's old rudder |
 |
| Laying out the design of our new rudder |

Our plan was to laminate several sheets of Coosa Bluewater together to make the full thickness of our NACA 0010 foil rudder, which we would then shape and taper accordingly (with the thickest part of the “chord” being 3-1/2” thick and the trailing edge tapering down to 1/4”). We printed out a plot for a NACA 0010 with our chord thickness from airfoiltools.com, then transferred it to a scrap piece of fiber reinforced plastic (FRP) to make our rudder foil template.
 |
| NACA 0010 rudder foil and elliptical leading edge template cut out of FRP |
Before we could start laminating the sheets together, we test fit the 1/2" cutout and made the necessary modifications for optimal fit.
 |
| Test fit of rudder's Coosa inner core |
 |
| Slots added to help bury the metal straps and plates |
Next, we prepped four 1/2" pieces to add to either side of the rudder. Two pieces were laminated to the bottom portion (below the straps) with PB Bond Adhesive. The other two pieces, which we referred to as "ear muffs," would cover/encapsulate the straps. We attached the "ear muff" sections to the Coosa sandwich with screws so they could be shaped but still removable. Once they were fitted in place, we attached our NACA 0010 template to the bottom edge of the rudder, and prepared for shaping.

We used a router to get the general shape for the rudder. We set up a fence, moved in 3/8" increments, set the depth to match the template, and Bill routed each section. One issue when working with Coosa Board is that a TON of dust and fiberglass flies everywhere! So his trusty assistant was in charge of vacuuming up as much flying fiberglass dust as possible during each pass and then afterwards. We nearly filled an 8 gallon Shop Vac (fitted with a Gore-tex filter) each day, and had to rinse off the outside of the vacuum and hose daily.
 |
| Bill in action shaping Phoenix's new rudder |


Once we had our general foil shape, went back to the marina for another test fit. We slid the rudder in place and gently set the "ear muffs" in place covering the straps. To keep our foil shape, Bill cut off the small straps that were sticking out of the "ear muffs," so all the straps would be covered.
 |
| Test fit of Phoenix's new rudder with the "ear muffs" in place |
 |
| Cutting the straps so they would remain buried inside the new rudder |
Next, it was time to sand and smooth the rudder's shape. The router steps worked as contour lines to help us maintain the foil shape, and we kept the template in place as a guide. We also used the elliptical "nose" of the template cutout to help guide us while shaping the lower leading edge of the rudder.

We then used 3M Marine Premium Filler (vinyl ester putty) to fair the seams and fill the screw holes used when laminating the sheets of Coosa together. [Note: HDU boards tend to slide when gluing with PB Bond. Clamps, screws, or heavy weights are necessary when laminating sheets and to keep the material from moving. The screws are easily removed after the adhesive cures.]


We then used 3M Marine Premium Filler (vinyl ester putty) to fair the seams and fill the screw holes used when laminating the sheets of Coosa together. [Note: HDU boards tend to slide when gluing with PB Bond. Clamps, screws, or heavy weights are necessary when laminating sheets and to keep the material from moving. The screws are easily removed after the adhesive cures.]


Once satisfied with our shape, we were ready to fiberglass the rudder. We wanted to do as much of the work out of spot as possible, so we laid several layers of glass everywhere except where the "ear muffs" would attach before installing the rudder. We used vinyl ester resin for glassing and fairing with microballoons since it is much better for under water applications than either epoxy or polyester resin.
We headed back to the marina and were finally ready for installation! First, we had a welder come and check and retack all of the welds on the rudder stock. Then, we slid the laminated inner core between the stainless plates and straps, adhered them with 5200 urethane caulk, then through bolted the rudder in place. The "ear muff" panels were then attached with PB Bond.
The majority of the leading edge on our rudder (including the "ear muff" panels) is behind Phoenix's 4.5" thick fiberglass skeg and propeller aperture. To optimize water flow and fully encapsulate the rudder post (which is at the max chord thickness), we needed a broader elliptical shape for this portion of the rudder. We made another FRP template of a NACA 0016 foil, and used it along with the 3M Marine Filler to create an elliptical leading edge before fiberglassing. We added chopped mat fiberglass to the Marine Filler to add strength in this area as well.
We also used the 3M filler to fair in the plates attaching the metal "skeg" to the fiberglass skeg and rudder shoe. We contemplated removing the metal "skeg" altogether, but it is welded to the rudder shoe and serves as an ideal spot for sacrificial anodes and protects the rudder -- so we reshaped it a bit instead for better water flow across the bottom leading edge.

After several rounds of glassing, fairing, and sanding, we applied several coats of Interlux Interprotect 2000e as a barrier coat and primer, followed by 3 coats of Petit Trinidad 75 anti-fouling bottom paint.
 |
| Barrier coat applied to Phoenix's new rudder |
 |
| Phoenix's new rudder complete! |

With both of us hustling, the project was complete and Phoenix was ready to go back in the water! In addition to the building the rudder, we installed new depth and speed transducers, replaced the Bobstay fitting, re-pitched and polished our Max-prop (it was slightly over-pitched), and sanded and painted Phoenix's bottom with 3 coats of Trinidad 75 -- not bad for 3 weeks worth of work!
Eager to reap the benefits of our labor, we set out for a several weeks of sailing shortly after splashing. We've put several hundred miles on the new rudder so far -- in light and heavy air, heavy chop and following seas -- and can report that we are EXTREMELY happy with the improvement in Phoenix's performance. We've gained about a knot of cruising speed, but more importantly, she handles with ease. We've had to change how we approach a dock since she has at least twice the glide range, you can let go of the wheel when tacking, and we no longer have to reef early. She easily carried full main and genoa in 18-25 knots apparent, which we wouldn't have dreamt of doing before.
Nothing better than when a plan successfully comes together!
 |
| Phoenix happily at anchor |
Thanks for sharing. Im contemplating redoing my rudder in a few years and this helps lay the groundwork for how i probably will approach it. Much thanks.
ReplyDeleteThanks Bill. A great result. Will definitely look into this further if we go ahead and purchase the 35' motorsailer.
ReplyDelete