
We have Raymarine/Tacktick wireless depth, speed, and wind sensors already onboard, and a Standard Horizon GX2200 VHF/GPS/AIS receiver as well. The goal here was to have a dedicated chart plotter and navigational computer that could incorporate data from our various instruments, work with the autopilot we were preparing to install, and provide the flexibility to incorporate data from a variety of devices/instruments without tying us to a single proprietary brand or system.
 |
| Phoenix's Nav computer running OpenCPN on a Raspberry Pi |
We have been using OpenCPN on our laptops and a touchscreen tablet for quite some time, and have so far been very happy with its capabilities. For those who are unfamiliar, OpenCPN is free shareware that consists of a chart plotter and navigation software for use "underway or as a planning tool." OpenCPN was developed by a team of active sailors using real world conditions for program testing and refinement. You can download free charts for most of the world online, and/or import electronic charts that you have from Navionics, friends, etc. The software is open source, there's nothing proprietary, and the developers have done a great deal of work to make OpenCPN compatible with ("talk to") marine devices transmitting NMEA sentences. It is also compatible with most operating systems, and there are versions available for Windows, Android, Apple, and Linux.
Our original plan was to have a PC in the Nav station connected to a sine wave inverter running OpenCPN. However, when we sold Meandrous, the new owners introduced us to the Raspberry Pi (RPi).
These small, inexpensive single-board computers were designed to teach basic computer science skills in schools and developing countries, and have a myriad of applications both in and out of the marine environment. Raspian is the official operating system for the RPi, which is a version of Linux written specifically for these tiny computers. You choose the storage capacity for the operating system, though they generally recommend a minimum of an 8GB micro SD card for Rapsian, which is plenty to run OpenCPN as well. Roughly the size of a credit card (without the case) or a deck of cards (with the case), the RPi requires only 2.5 amps of 5.1V, so it can easily fit on even the smallest sailboat.
Once we read up on the capabilities of the RPi, we decided to change course and use a RPi to run OpenCPN and build a dedicated RPi Navigational Computer.
We started with a RPi 3B Starter Kit from Amazon, which came with a case, 32GB micro SD card, 2.5 amp AC power cable, HDMI cable, heat sinks, and a microSD USB reader. The micro SD card was preloaded with NOOBS (new out of box software) that contained Raspian and other operating systems to choose from. The 32GB storage was a bit of an overkill for our application, but it gave us more than enough storage to work with.

Knowing we were going to have an onboard computer dedicated to navigation, we had already purchased a 21" LED monitor that's mounted in the nav station, but we still needed a few more items in order to integrate our existing electronics (depth, speed, wind, AIS) and have each component work with the RPi. Specifically, we needed:
- 12 volt power supply socket
- Keyboard (we opted for a flexible waterproof keyboard like this one)
- Mouse (with the RPi 3B you can use a bluetooth mouse to free up a USB port if desired)
- USB GPS Dongle (GlobalSat BU-353-S4 GPS Receiver)
- USB RS232 Cables (we needed two -- one to connect the Raymarine info to the RPi, and one for the Standard Horizon AIS)
- Multi-port USB Hub (the RPi has 4 USB ports. This allowed us to connect the mouse and keyboard, with extra ports for future additions).
Bill and I are by no means computer programmers and knew nothing about Linux or coding in general, so we had to do some homework to initially set up the RPi. Luckily there are plenty of online tutorials that make the process relatively simple.
Setting up Raspian from NOOBS is pretty straightforward, and really just plug and play, provided you have internet access to do the necessary upgrades. From there, we needed to add the OpenCPN software, which we opted to do from the source code, as a learning experience.
OpenCPN's website provides better instructions now than when we did our install, which you can find here. However, Anderson's Abroad and KingTide Sailing both provide excellent step by step instructions on setting up OpenCPN, setting up a wireless access point, installing the Kplex multiplexer needed to coordinate all of the data coming in from the various marine instruments, etc. We utilized both resources on the first go around. The installation did not go off without a hitch, and I had to learn a few Linux tricks in order to get things working. I initially had problems installing the Kplex multiplexer, and couldn't get our AIS and instruments to transmit simultaneously, but later found that it was a ground loop/wiring issue and not a software problem. We had another issue installing the OpenCPN plugins (essentially add on apps). After none of the published instructions worked as described, I had to install each plugin from source, and we reached out to Sean D'Epagnier -- one of the developers of OpenCPN and many of its plugins, for tech support.
Sean came to visit us, and we began chatting about an open-source autopilot program that he was developing. He just started collaborating with the programmers who develop OpenPlotter, and his autopilot software was already incorporated into its most current version. OpenPlotter is essentially the lazy man's way of building a navigational computer. :-) Instead of downloading and installing each component individually from the source code, the developers of OpenPlotter combined all of the software you need -- including OpenCPN, Kplex, Signal K (to share both NMEA 0183 and 2000 data), wifi access point, zyGrib (for downloading weather files), autopilot, and more -- into a plug and play operating system designed to work with the RPi. Like OpenCPN, it is free, open-source software.
Sean convinced us to re-write our SD card, start over with OpenPlotter, and test an autopilot controller that he would develop to work with our hydraulic steering system (more on that in a later post).
So we went to the OpenPlotter website and downloaded their NOOBS OpenPlotter v1.0.0 on our SD card. All of the software downloads and updates needed to be done in areas with internet access (and ideally fast internet, otherwise it will take forever), so the first part was done in the house. Then it was finally time to put everything together down on Phoenix.
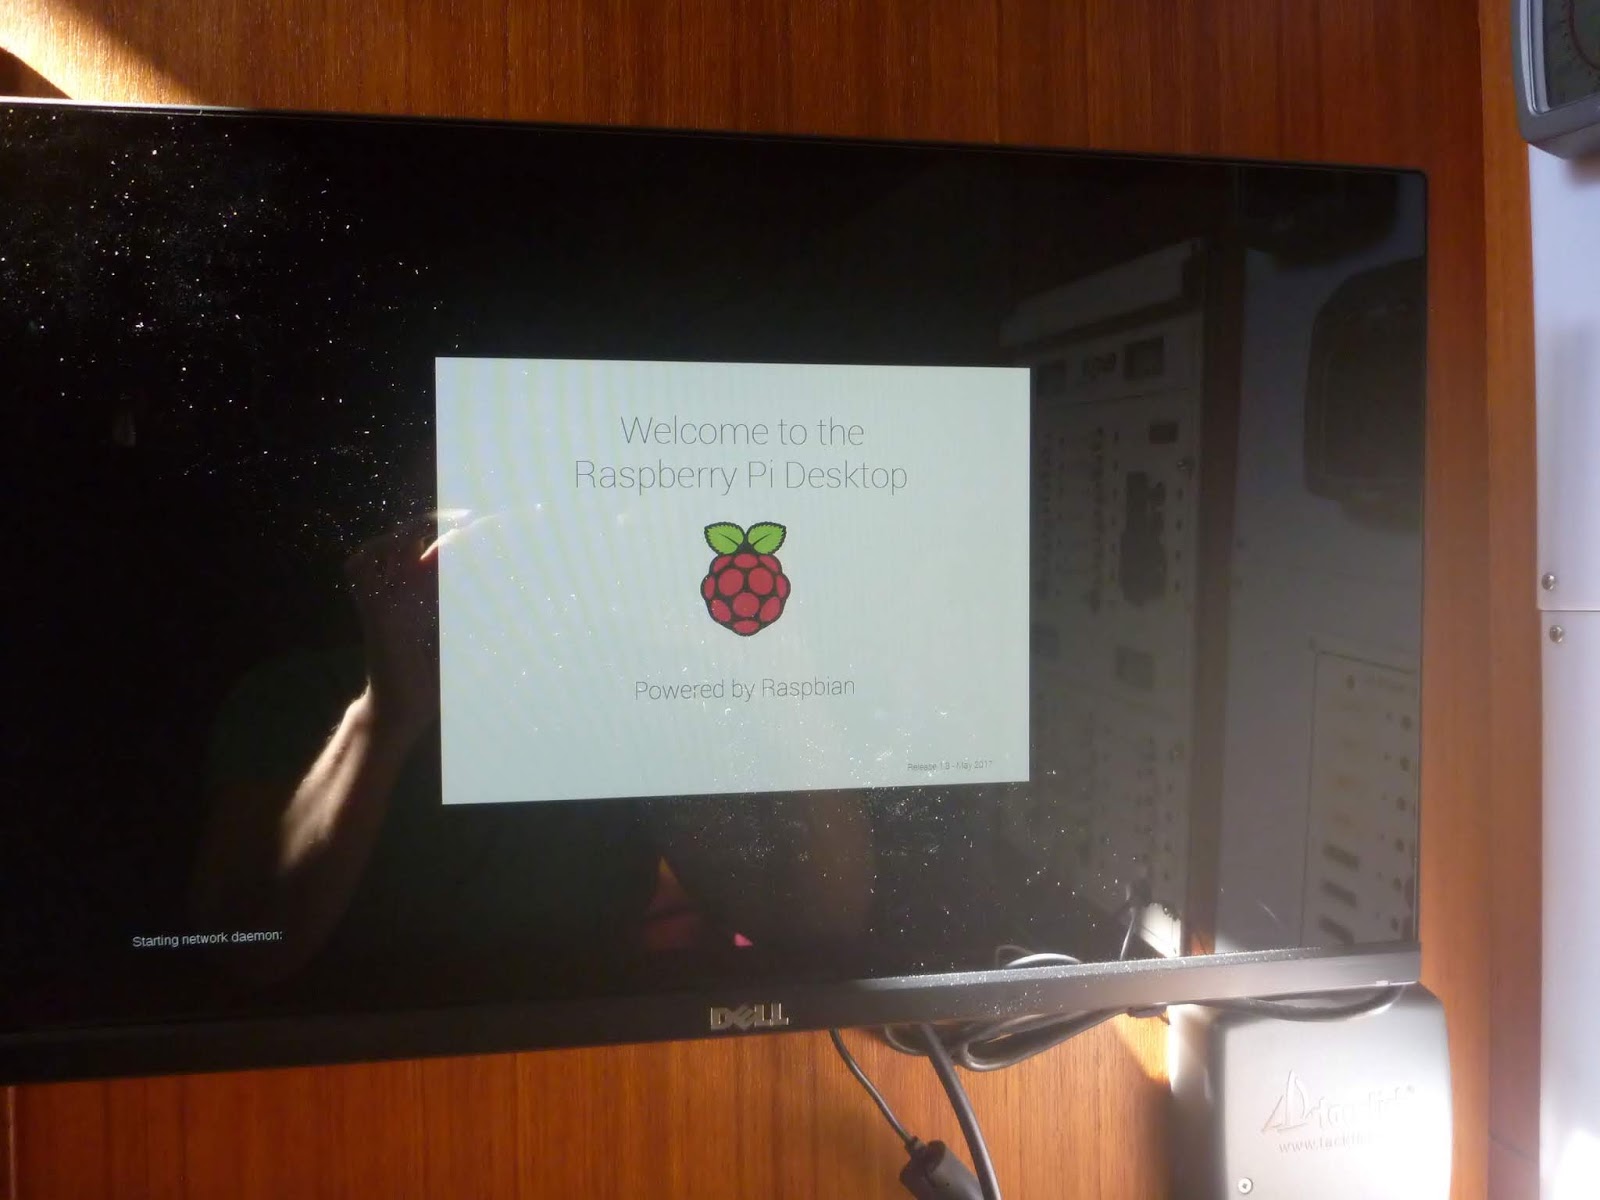 |
| Booting up the Rasberry Pi- based Navigational Computer aboard Phoenix. |
 |
| The Raspberry Pi Navigational Computer on Phoenix with 12V power source, receiving depth, speed, wind, and AIS through NMEA 0183 sentences. |
We mounted the RPi under our nav desk, and installed a 12v dual USB charger/socket waterproof outlet nearby for the RPi 5V power source. We added a rocker switch to we could turn the power to the socket on/off as needed. A standard USB-micro USB adapter cord powers the RPi from the socket.
The LED monitor connects to the RPi with a HDMI cable. The RPi 3B has 4 USB ports connected to the GPS dongle, the multi-USB port, AIS and Raymarine data, respectively. The mouse and keyboard are connected to the multi-USB port.
 |
| Our flexible, roll-up, waterproof keyboard at the Nav station |
The wired end of one USB RS232 cable is connected to our Raymarine/Tacktick T122 Micronet interface that came with our instruments. The T122 sends NMEA data it receives from our depth, speed and wind instruments to the RPi through the USB end of the cable. Similarly, the second USB RS232 is wired to the Standard Horizon GX2200, which sends GPS and AIS data to the RPi. OpenPlotter takes all of this information and overlays it onto the OpenCPN chart plotter.
 |
| Standard Horizon GX2200 aboard Phoenix |
 |
| GPS Dongle |
Since we have two sources for GPS (the dongle and our Standard Horizon radio), I added a failover rule to the multiplexer in OpenPlotter (Anderson's Abroad discusses how to write the code). This established the GPS dongle as the primary GPS data source, and the AIS as the backup source. As long as GPS position data is coming in through the dongle, all of the GPS data from AIS will be ignored. If the GPS data from the dongle drops out, then KPlex will start accepting the GPS from Standard Horizon radio.
 |
| Querying an AIS target, showing GPS, wind, and barometric pressure data on the dashboard using OpenPlotter on an RPi3B |
One option is through a Virtual Network Connection (VNC). This allows you to control the RPi remotely, or bypass the monitor down below altogether and run a "headless" RPi set up. This also allows both the person on-watch to control the RPi in the cockpit while the off-watch person can control it from down below.
Another option is to have OpenCPN loaded on your tablet/phone, set up OpenPlotter to function as the access point, and transmit the NMEA sentences wirelessly from the Rpi to the tablet. This allows the two systems to run independently, and gives you some redundancy/back up in data.
 |
| Receiving wind, depth, speed, GPS, etc. over a wireless access point on a touchscreen tablet in the cockpit from a Raspberry Pi in Phoenix's Nav Station |
So far we are very happy with the flexibility and ease-of-use of our new navigational computer. The RPi hardly uses any power, gives us the freedom to choose the instruments (and brands) that we want to incorporate into our system, and compared to proprietary systems, is EXTREMELY cost effective.
Stay tuned for information on the auto-pilot we have since incorporated (with Sean D'Epagnier's help). We're also looking at broadband radar options that we can plug directly into the system as well.
That is EXTREMELY helpful, thank you a lot!!!
ReplyDeleteThank you.
DeleteNice write up. It will be interesting to see how you use it over time and journeys in different conditions. Any thoughts on possible electrical noise interference or radio interference? Can you get a waterproof table for the cockpit. Even with a high center cockpit and hard dodger and full bimini we had green water coming in to the cockpit from all points! Had to change layers under our foulies many time. Good work though and especially the help from Sean. Probably in the too hard category with proprietary communications but any chance of future radar overlay? OpenCPN may already have that taken care of. Nice write up!
ReplyDeleteThanks! We haven't seen any noise interference yet, but will keep an eye out for it. We've looked into waterproof tablets and could get one for ~ $800. We're using a cheap $100 tablet and figured we could replace it several times over (and have spare(s) on board) before matching the cost of a water proof version. Navico digital 4G Radar interfaces with OpenCPN for a direct overlay, and we're looking into incorporating that soon.
DeleteHow do you accomplish the wifi connections between OpenPlotter and Pypilot? Specifically, what steps? And, what versions of these are you using?
ReplyDeleteWe're using an RPi3 and did a NOOBs install of OP v1.0.0, then updated it when prompted. Both OP and Pypilot can serve as wifi access points. We have OP running in client mode and Pypilot as the access point. The OP manual did a nice job of explaining how to set up the network and we pretty much followed these instructions (https://docs.sailoog.com/openplotter-v1-x-x/network). Our tablet connects to the Pypilot access point and receives data from it and from OP.
DeleteHave you had any problems connecting the T122 direct to the Pi via the USB - I have read in several places that an opto isolator is advised to prevent damage to either T122 (expensive) or Pi (inconvienient)
ReplyDeleteNeil
We haven't had any problems connecting the T122 to the Pi with the USB RS232 cable and have been using it for over a year now.
DeleteSorry to be late to the party. Have a T111 multi function wireless display and a T112 multi function analog display. The T112 gets wifi info directly from the masthead fly T101. The T111 gets wifi from the T121 hull transmitter which has only inputs from the 12VDC, depth sounder transducer, speed transducer (or triducer for depth, speed) and compass. It says the T111, T112 are compatible with other company instruments using the T122. The T122 is huge bucks is there any other way to do this?
ReplyDeleteHi Charlieyacht
DeleteI know this is a year late, but I just got here!. Unfortunately you have to get a T122. The wireless network connection is proprietary and cannot be directly interfaced with. They sometimes come up on used for sale sites. You will also need to have a compass input. Only 2 options here. A dedicated Raymarine flux gate compass or Racemaster display, which has a built in compass. The fluxgate is cheaper, but the Racemaster at least provides a useful display of heading and a smaller 2nd display, do not confuse this with the Micro Compass, that unit is stand alone and has no wireless capability. HTH
I got here much interesting stuff. The post is great! Thanks for sharing it! Marine Navigation App
ReplyDeleteThanks Bill and Elisa, I've been thinking and researching the raspberry pi and open plotter option for a while and really how your article is easy to follow, I'm familiar with linux so I'm hoping it wont be such a challenge and I have an nmea 2000 network which I'll hook up to, the only stumbling block seems to be the purchase of an exterior waterproof monitor, there's no choice locally and I live in New Zealand so everything is expensive by the time we import from where ever anyway, thanks again.
ReplyDelete